
Ticket Panels
Begin by using
/admin-ticket panel createcommand and give the panel a name.
The following wizard will pop up where you can configure all settings related to the ticket panel
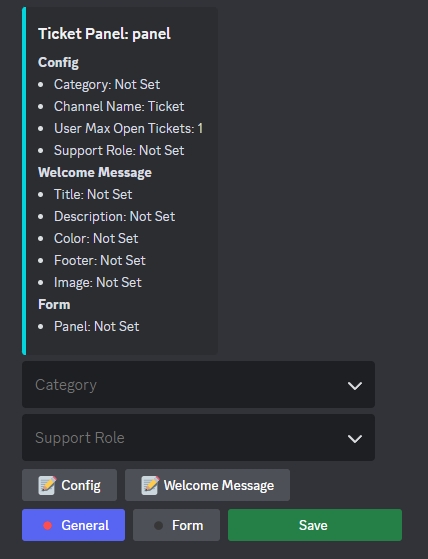
Choose ticket panel
CategoryandSupport Roleto be mentioned when the ticket is created as shown below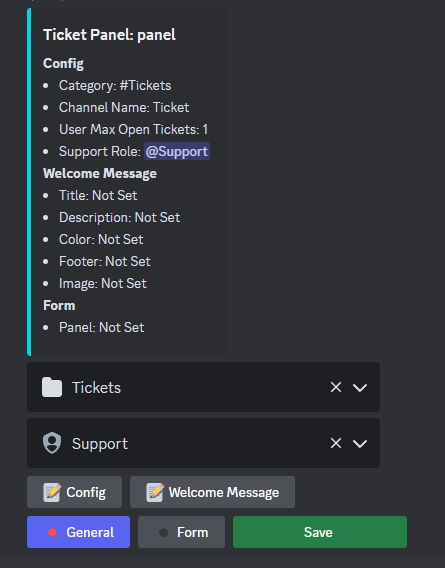
Click on
Configbutton to choose
Ticket Channel Name: Name of the channel created when users click on the create ticket button.User Max Tickets Open: Maximum number of allowed tickets for a single user in this panel.then click
Submit
Click on
Welcome Messagebutton to configure welcome message embed when a user creates a ticket
Embed TitleEmbed DescriptionEmbed Hex ColorEmbed FooterEmbed Imagethen click
Submit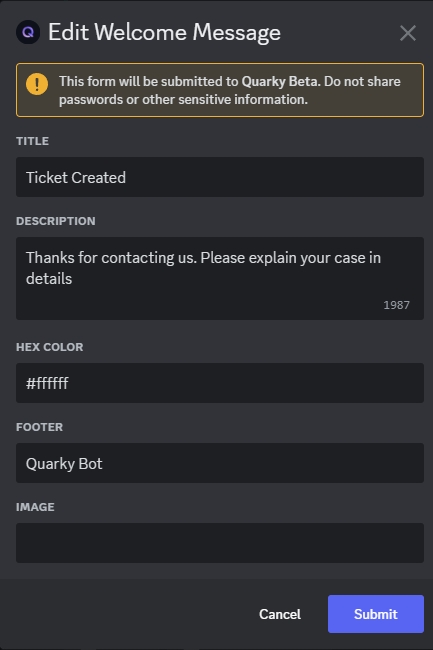
If you have
Quarky Custom Formsfeature enabled in your server, you can connect forms with different types of questions to be answered by the user after creating a ticket. For that, Click onFormbutton as shown below and choose the associated form panel with this ticket panel. Refer to Form Panel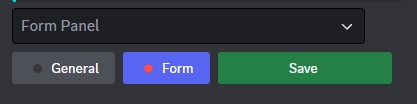
Click
Save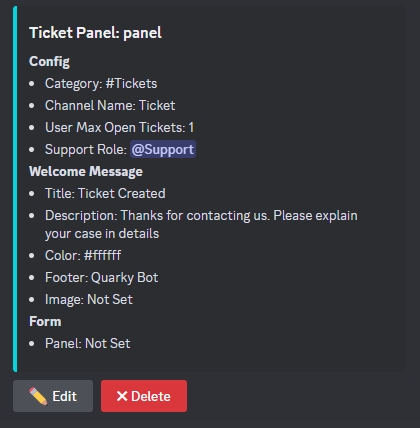
As you can see, after you click
Saveon the ticket panel. You can now edit it again usingEditbutton or delete it usingDeletebutton.
Last updated
Was this helpful?